
How Do You Safely Install Garage Door Cables
Garage door cable installation requires proper safety precautions, the right tools, and a careful approach to releasing spring tension. It’s smart to disconnect power before starting any cable work.
Many homeowners can handle this themselves if they follow the steps closely: secure the door, release the spring tension slowly, remove the old cables, and install the new ones with the drum lined up just right. If it feels tricky, calling a local garage door repair service in OKC can save a lot of stress and ensure everything works smoothly.
Safety Precautions for Cable Installation
Power disconnection stands as the first priority when working on garage door systems. The opener mechanism needs complete electrical isolation to prevent unexpected door movement during cable work. Once you've secured the door in its fully closed position, safety equipment becomes your next focus.
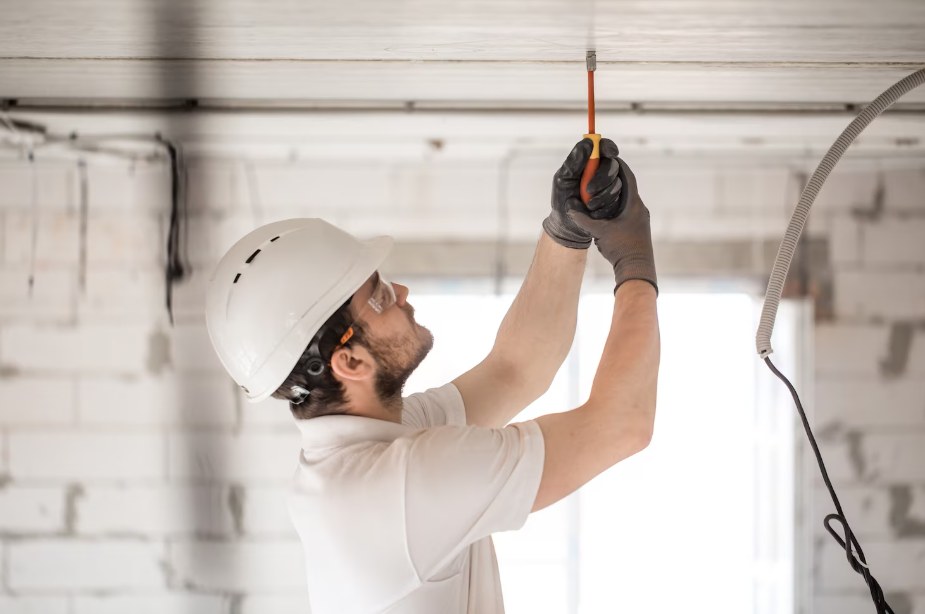
Protective gear protects against cable snapping and metal debris. Work gloves should cover your hands completely, while safety goggles shield your eyes from potential spring recoil. Having a second person present helps manage heavy components and provides backup assistance if something goes wrong.
Proper lighting makes cable threading and drum alignment much easier to see clearly. Clear your workspace of any tools or materials that might create tripping hazards. These precautions significantly reduce accident risks during the installation process.
Tool Requirements and Preparation
Quality tools make cable installation safer and more efficient. Safety glasses and leather work gloves provide basic protection, while a sturdy ladder gives you stable access to upper door components. Locking pliers help maintain grip on cables during threading operations.
Winding bars are specifically designed for spring tension work and shouldn't be substituted with other tools. A complete wrench set handles various bolt sizes you'll encounter on brackets and drums. Cable pullers assist with threading new cables through tight spaces and around pulleys.
Keep a level handy to verify track alignment throughout the process. Sometimes minor adjustments require a hammer and nail punch for precise positioning. A clean rag and quality lubricant help cables move smoothly through pulleys and track systems once installation is complete.
Releasing Cable Tension Safely
Tension release requires careful attention to spring mechanics and cable positioning. With the door completely closed and power disconnected, locate the torsion springs mounted above the door opening. These springs store significant energy and demand respect during the unwinding process.
Insert your winding bar into the bottom winding cone, maintaining a firm grip as you begin the unwinding process. Turn the spring slowly, allowing tension to release gradually rather than all at once. The spring will unwind several full rotations before reaching a neutral position.
Test cable slack by gently pulling on each cable after spring unwinding. Properly released cables should have noticeable slack without any binding or resistance. Never proceed with cable removal until you've verified complete tension release on both sides.
Old Cable Removal Process
Bottom bracket access starts the removal sequence for worn or damaged cables. Locate the bolts securing each cable to its respective bracket and loosen them carefully. Some corrosion might make these bolts stubborn, so penetrating oil can help if needed.
Slide the old cable free from its bracket attachment point, then follow it up to the drum assembly. Cable drums have grooves designed to guide cable winding, and you'll need to unwind the old cable from these grooves systematically. Take note of the winding direction for new cable installation.
Thread the cable out through the track system, watching for any track damage or excessive wear patterns. Damaged tracks can cause premature cable failure, so inspect everything thoroughly while you have easy access. Remove the second cable using the same methodical approach.
New Cable Installation Steps
Thread your new cable through the bottom bracket first, making sure it seats properly in the attachment point. The cable material should feel smooth and show no signs of fraying or weak spots. Quality cables typically have a specific weight rating that matches your door specifications.
Drum winding requires patience and attention to groove alignment. Start the cable in the proper groove and wind it systematically, keeping tension consistent as you work. Misaligned cables can jump grooves during operation and cause premature wear or sudden failure.
Secure the bottom bracket connection with appropriate torque specifications. Too loose allows cable slippage, while overtightening can damage the cable strands. Pull the cable taut and verify smooth movement through all pulleys before final adjustment.
Check alignment by observing the cable path from the bracket to the drum. Any twists or kinks indicate installation problems that need correction before testing. The second cable installation follows the same process, maintaining consistency between both sides.
Testing Door Operation
Clear the area around your garage door before beginning operational tests. Start with manual operation to feel how the door moves without opener assistance. Properly installed cables should allow smooth, balanced movement in both directions.
Activate the opener system and observe several complete open and close cycles. Listen for any unusual sounds that might indicate cable binding or improper tension. The door should move steadily without jerking or hesitation at any point in its travel.
Verify proper closing by checking that the door sits flush against the ground without gaps. Test manual operation once more to ensure the door functions properly during power outages. Any operational abnormalities require immediate attention before considering the job complete.
Professional inspection might be warranted if you notice persistent problems during testing. Garage door systems have interconnected components, and cable issues sometimes reveal other underlying problems that need professional diagnosis and repair.
Contact Us
Looking to enhance your home's curb appeal or need reliable garage door services? Reach out to Trotter Overhead Door for expert installation, repair, and maintenance solutions.
Address: 14000 North Santa Fe Ave., Edmond, OK 73013
Phone: (405) 341-9601
Email: info@trotteroverhead.com
Showroom Hours:
Monday - Friday: 7:30 AM - 5:00 PM
Saturday: 8:00 AM - 11:00 AM
Sunday: Closed
For inquiries or to schedule a consultation, please visit our Contact Us page.
Related Topics: