Easy Guide to Installing a Garage Door Opener Bracket
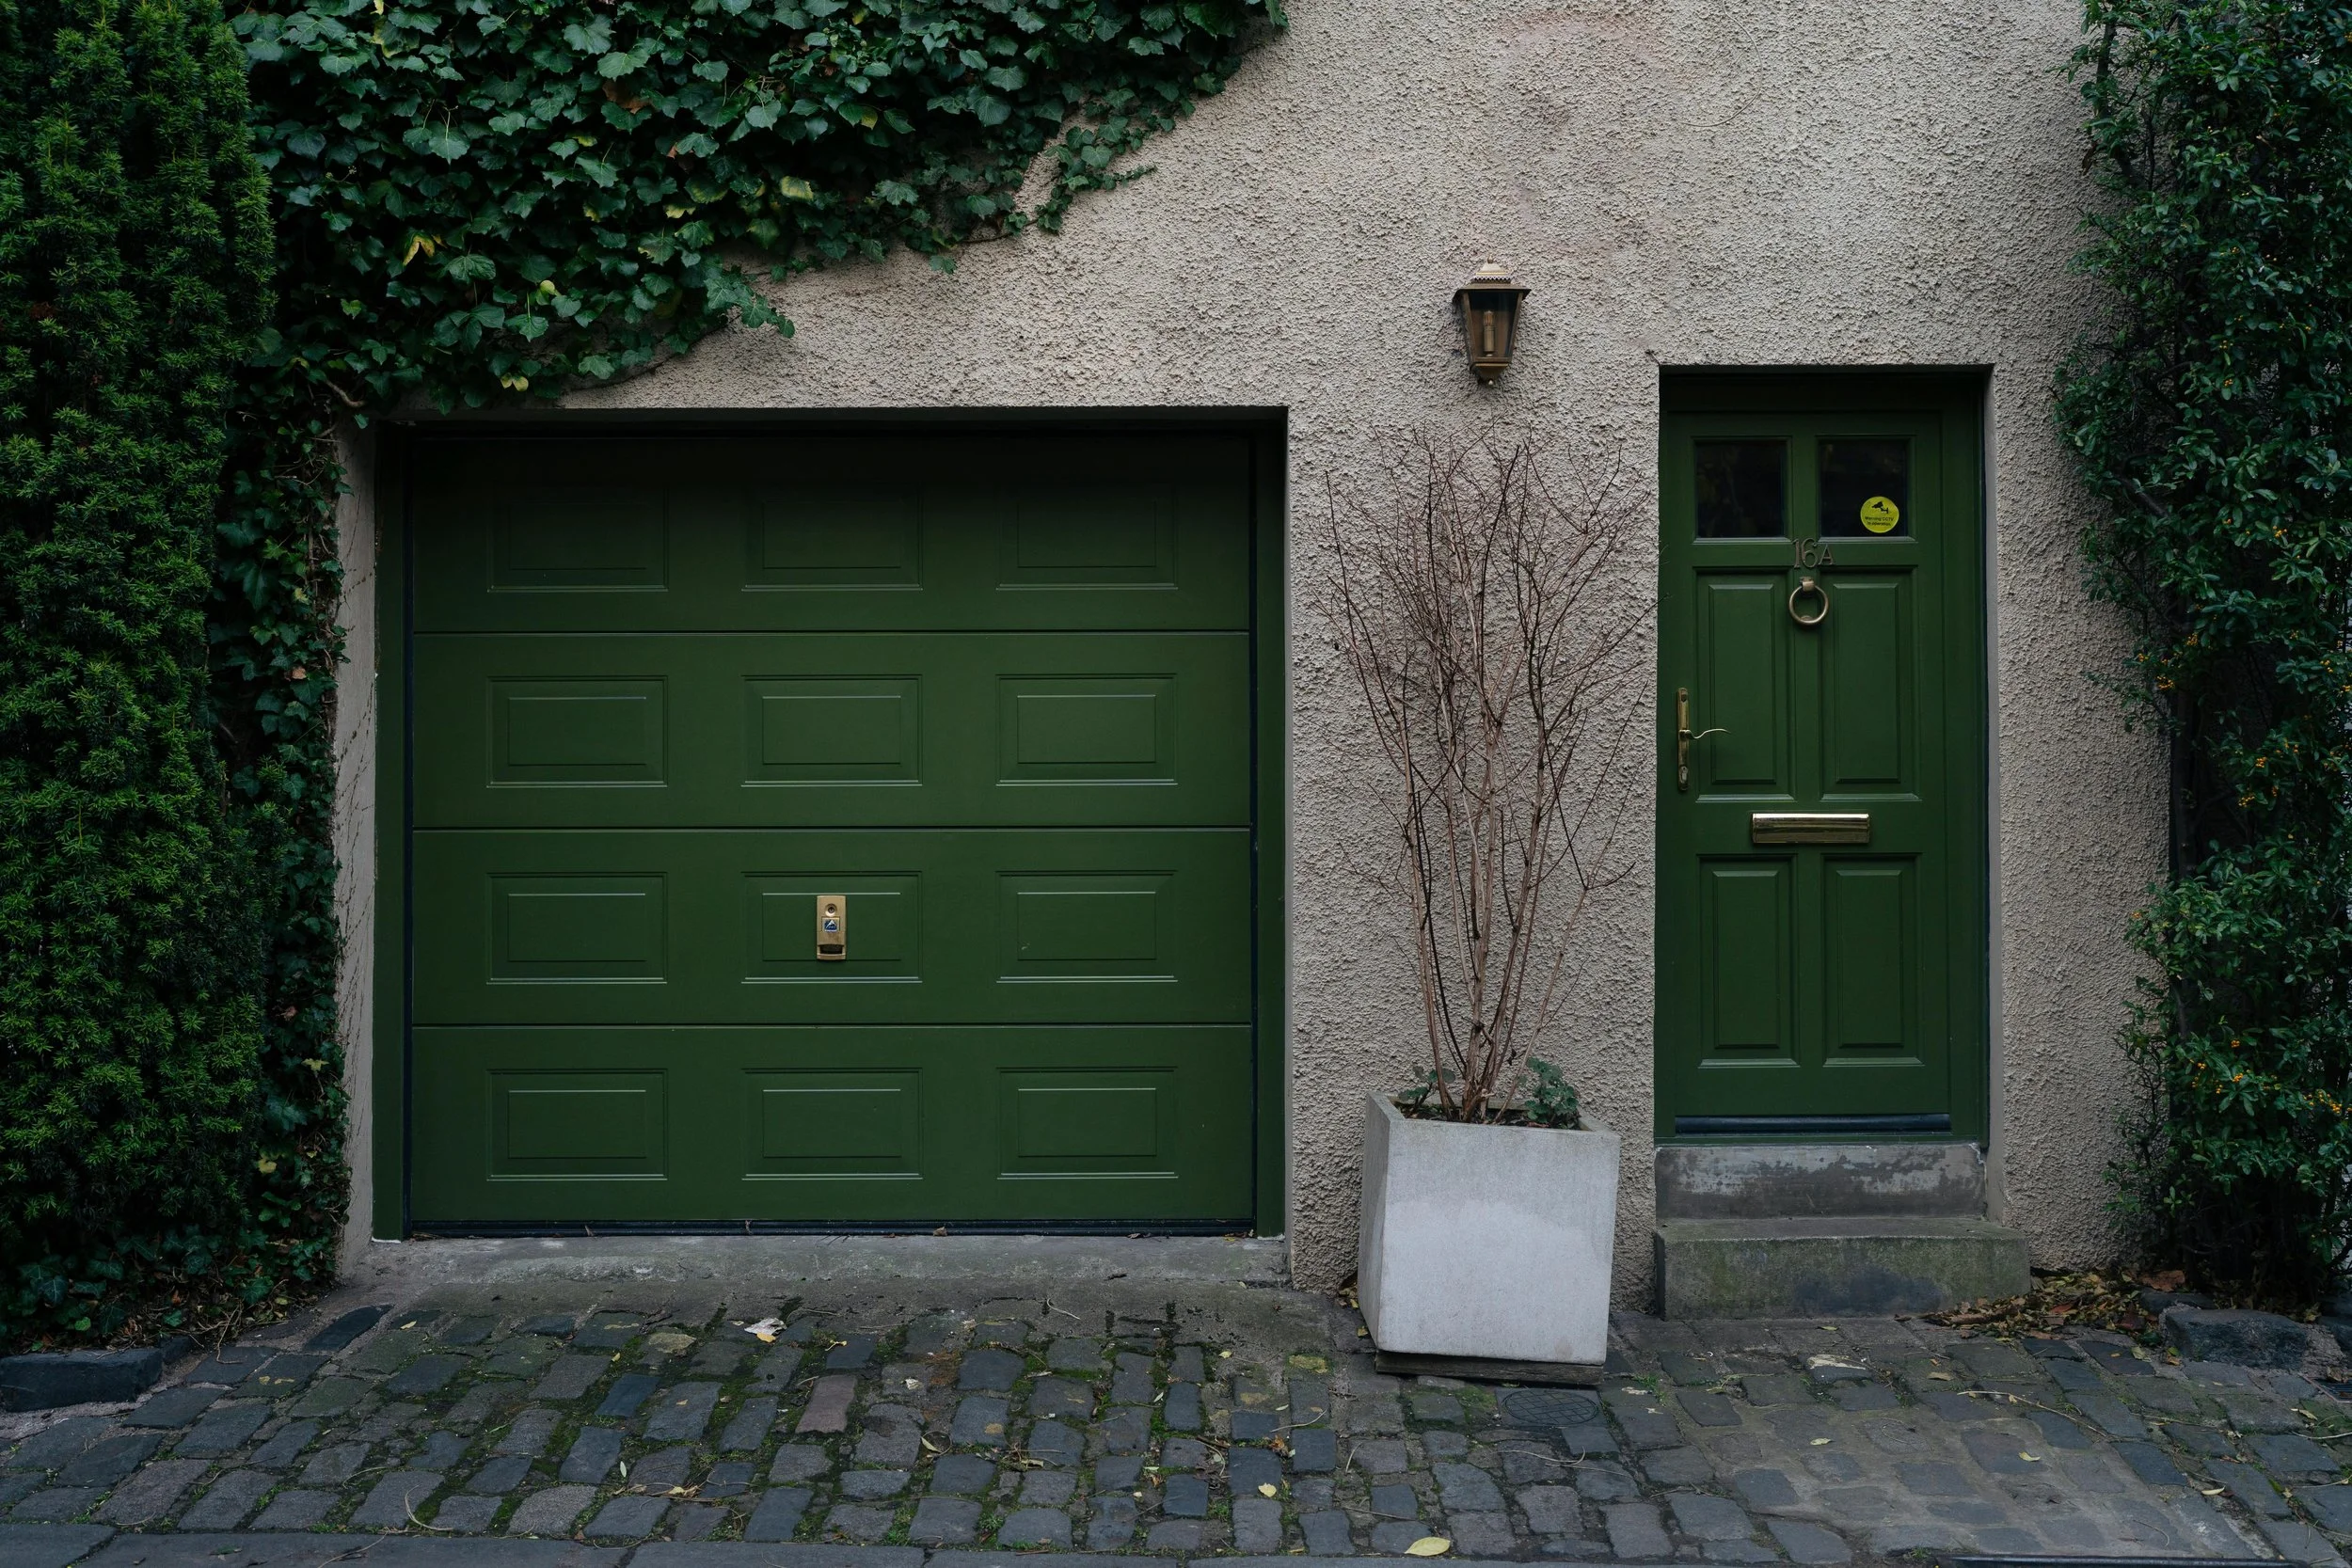
Okay, so if you’re staring at your garage ceiling thinking, “yeah, I need more space", a garage door opener bracket might be the thing. Honestly, it’s not that scary once you get going. You line it up with the holes, screw it in, and make sure it’s level. Maybe give it a little shake; you don’t want it wobbly later.
Then the opener goes on top. You might need a buddy here; these things aren’t exactly light. Bolt it in, connect the wires, and yeah, test it a few times. I’ve found that having a reliable garage door repair team in OKC to peek over your shoulder can save some stress, especially the first time.
Tools and Materials Needed
Before you even touch the door, round up your stuff. Drill, bits, socket wrench, ladder, level, tape measure, goggles, gloves. Oh, and of course, the bracket kit from the manufacturer, screws, bolts, and all that jazz.
If you start and realize something’s missing, it just drags things out. Been there, trust me. So have it all together first. Then the garage is ready for action.
Preparing the Garage Door
You don’t want to attach a bracket to a door that’s cranky or sticky. Open it. Close it. Watch how it moves. Any weird noises? Squeaks? Tighten loose bolts and lubricate the rollers, hinges, and tracks. That little bit of prep makes everything easier.
Also, clear stuff from around the door. You don’t want tools or bins in the way while it’s moving. Even a small object can mess things up. Just a tiny safety thing, but it matters.
Attaching the Bracket to the Door
Line up the bracket with the holes on the door. Screw it in. Check the level. You might lean in and nudge it a little to make sure it’s snug. That’s it. Not complicated, pay attention.
If it’s crooked, the door will fight you later. So slow down, and get it right. It’s worth the extra minute.
Mounting the Opener to the Bracket
Turn off the power first. Safety first, seriously. Then lift the opener onto the bracket. Yeah, it’s easier with a friend holding it while you bolt it down. Tighten the bolts, but don’t go crazy; you can strip threads if you’re too rough.
Check the level again. Parallel to the ground. If it’s slightly off, the door won’t move smoothly. You’ll notice it immediately anyway, trust me.
Wiring and Testing the Opener
Now for the wires. Match them to the terminals, the manual says. The power cord goes to the outlet. Sensors and wall buttons: set them where they don’t get in the way.
Remote time. Test it a few times. Watch the door. Does it stop when it hits something? Adjust a tiny bit if it doesn’t. That’s it. Small tweaks now save bigger headaches later.
Final Adjustments and Safety Checks
Adjust the travel limits. The door should go up and down without straining the motor. Force limits, too. Test the auto-reverse by putting a little object under the door. Yep, it should reverse.
Lubricate the rollers, hinges, and springs. Check the remote and keypad. Run it a few times. If it feels smooth and quiet, you’re good. It’s ready, and you won’t have to worry every time you hit the button.
Related Topics: